A Chromebook keeps the proxy inside the network you are connected to, not in one place for the whole device. That single fact explains most of the trouble: the setting is hard to find, it does not follow you to the next Wi-Fi network, and it does not cover everything running on the machine.
Google's own help page for connecting a Chromebook to Wi-Fi walks you to the network list and stops there, without mentioning the proxy tab at all. Here is the rest of the path.
One thing said plainly: we have no Chromebook here. The steps on the device come from Google's own documentation and are marked where they do, and everything measured on this page was measured in Chrome, which is the browser and the network stack ChromeOS runs.
What you need before you start
- The proxy as an address and a port. If your provider sent one long line, the proxy format guide splits it into the parts this screen wants.
- The network you want it on. The setting lives in that network, so decide whether you want it on your home Wi-Fi, on a hotspot, or on both.
- For a first test, any entry from our free proxy list will do. Read the verification section first: in our own run, three of four free entries failed in the browser.
Step 1: open the network, not the settings
- At the bottom right, select the time, then Settings.
- On the left, select Network.
- Under Network, select Wi-Fi, then the name of the network you are connected to.
You are now in that network's own options, which is where the proxy section sits. If the network is shared with the other accounts on the Chromebook, the device asks you to allow proxies for shared networks before it lets you edit them.
Step 2: choose the kind of proxy
ChromeOS offers four kinds inside a network configuration, in Google's own words: a direct internet connection, a manual proxy configuration with a SOCKS host and an HTTP proxy, an automatic proxy configuration with a PAC file, and web proxy autodiscovery.
- Manual is what you want for an address and a port from a provider.
- Automatic takes the URL of a PAC file, which a workplace or school hands out.
- Autodiscovery asks the network itself, and only works where the network offers it.
Step 3: enter the address and the port
Choose Manual proxy configuration, put the address into the HTTP proxy field and the port into the port field beside it. Most people want the same proxy for every protocol, which the screen offers as one switch. The box below takes hosts that should skip the proxy.
Save, and the browser starts using it immediately.
What the setting actually covers
| Traffic on the Chromebook | Does the network proxy apply? |
|---|---|
| Browser tabs | Yes, including with a username and password |
| Android apps from Google Play | Yes, but never with an authenticated proxy |
| Linux container and virtual machines | Yes, but never with an authenticated proxy |
| System services: updates and policy fetches | Not with an authenticated proxy |
Google is explicit about the line: ChromeOS supports authenticated proxies for browser traffic only, and not for traffic from Android applications or virtual machines, because system services cannot read the username and password kept in your user profile. So a proxy with a login gives you a proxied browser on a device whose updates still go direct.
One more limit comes from the browser itself. Chrome supports the schemes DIRECT, HTTP, HTTPS, SOCKSv4 and SOCKSv5, but its network documentation states that no authentication methods are supported for SOCKSv5 in Chrome. A SOCKS5 proxy that needs a login cannot work here at all.
If it is a school or work Chromebook
Managed devices decide this before you do. Google documents the order: the user policy first, then extensions, then per-network policy, and only then the setting you typed. On a school Chromebook the proxy box may be set for you, locked, or quietly overridden, and no amount of retyping changes that. The person who can change it is whoever runs the admin console.
Check that it worked
Open any page that reports your address and read what it shows. Our free proxy checker does the same for a whole list and adds the protocol, the anonymity grade, the country and the latency for each line.
We ran this ourselves on 16 September 2026, through Chrome, which is the same network stack ChromeOS runs. A SOCKS5 entry from our free list carried the request and the site saw the proxy address, exiting in France in 537 milliseconds. Of four HTTP entries, two failed at once with ERR_TUNNEL_CONNECTION_FAILED, one timed out after 25 seconds, and the fourth worked and showed an address in the Netherlands.
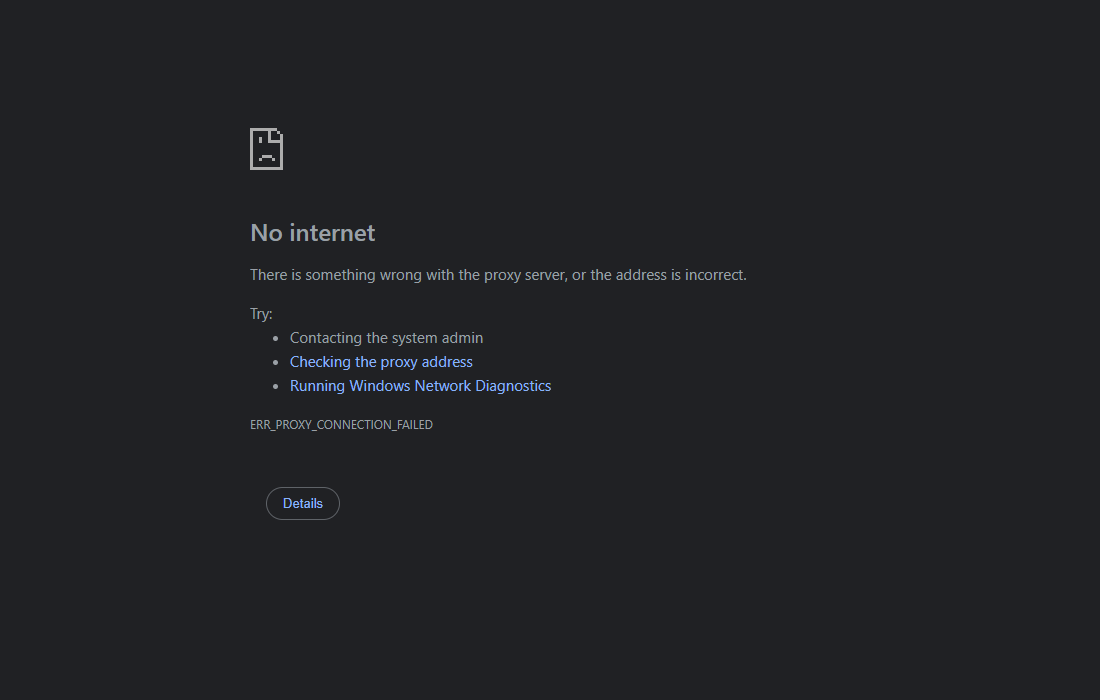
Those two codes say different things. ERR_PROXY_CONNECTION_FAILED means nothing answered at that address and port. ERR_TUNNEL_CONNECTION_FAILED means the proxy answered and then refused to open the connection you asked for.
When the page has to load every time rather than most times, a paid proxy is the part that stops changing under you.
When it does not work
- The browser is proxied and an app is not. That is the authenticated-proxy line above, not a mistake you made.
- It worked yesterday and not today. You are on a different network. The proxy belongs to the network you set it on.
- The fields are greyed out. Either the network is shared and needs the shared-networks switch, or the device is managed and policy owns the setting.
- Everything stopped loading. The proxy is probably dead. Set the network back to a direct connection and the Chromebook is fine again.
Turning it off again
Open the same network, set it back to a direct internet connection, and save. Do it on every network where you set it, because each one remembers its own.